This documentation provides step-by-step instructions on how to integrate QC Read & Understood with 1Password. By following these steps, you will be able to use 1Password to R&U your Confluence pages using OTP Authentication.
How to Integrate 1Password with QC Read & Understood
-
Go to your 1Password profile.
-
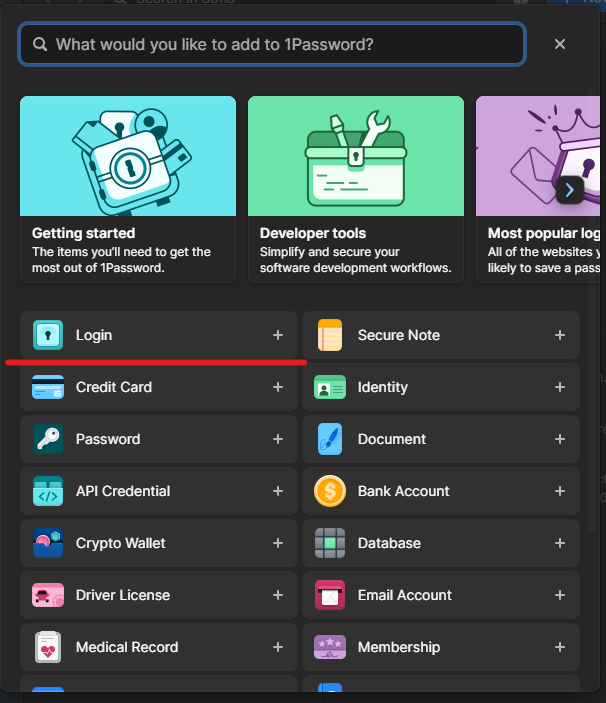
Click on “New Item” from the top menu and select the “Login” option
-
Add the username and the password that you want
-
In the website section, add your Confluence site URL where you will use QC R&U OTP Authentication
-
Click “add another website” and add this URL: http://qc-read-and-understood-2.herokuapp.com/
-
Click “Save”.
Once you have completed the above steps, proceed with the following:
-
Log in to your Confluence site, click on your profile icon, and go to your “Personal Settings”
-
Select the “QC R&U OTP Authentication” section and click “Enable”
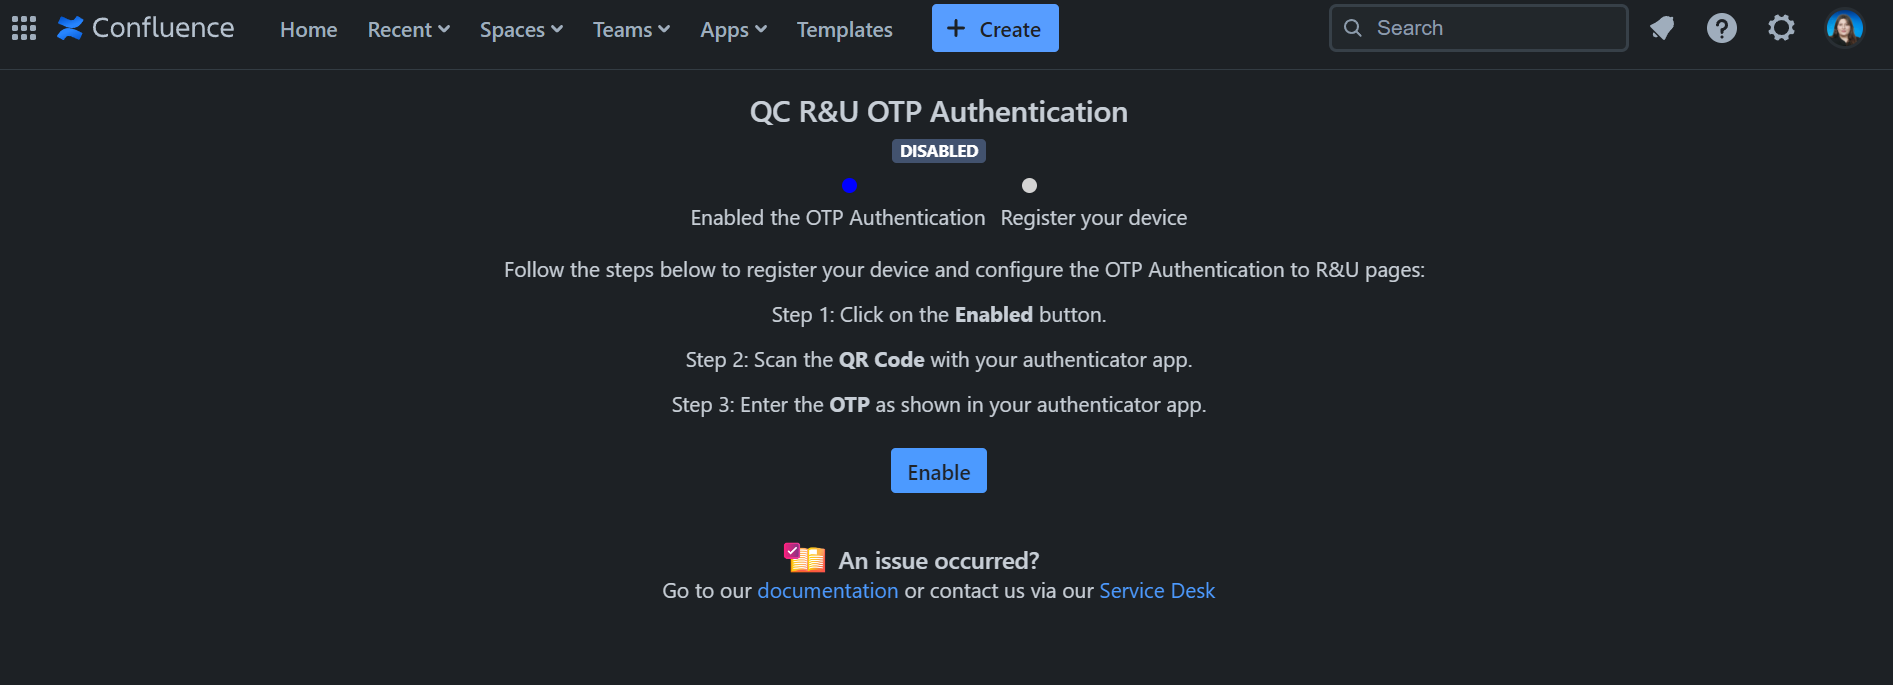
-
Once you see the QR code on your screen, go to the 1Password Chrome extension, click the three dots, and select “Scan QR code”
-
Now, click on the OTP field and select the Item that you created.
-
OTP is now enabled!
Congratulations! You have successfully integrated 1Password with QC Read & Understood and you can now use 1Password to R&U your Confluence pages.
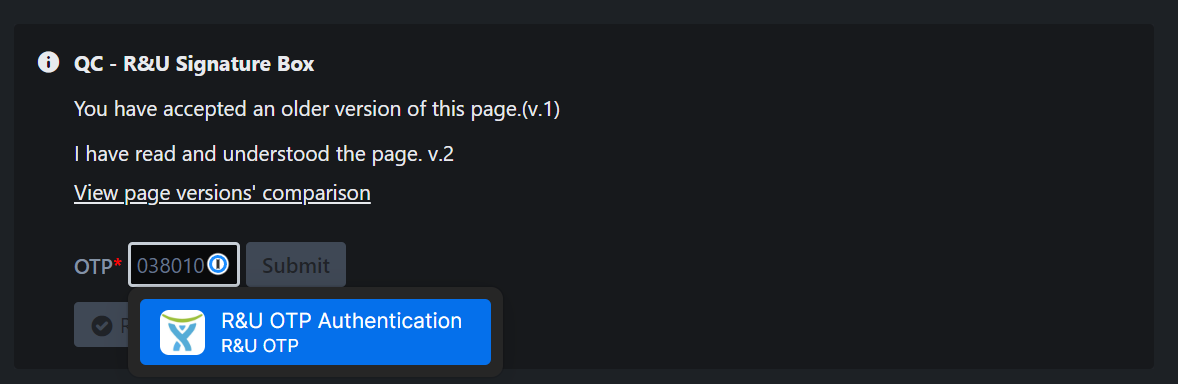
How to R&U a Confluence page
Once you have set up your 1Password and QC R&U OTP Authentication all you have to do is:
-
Go to a Confluence page that you need to R&U
-
Click on the OTP field within the QC R&U dialog
-
Select the 1Password item and click “Submit”
-
Click the “Read & Understood” button.